Deconstructing Kubernetes Scheduling Mechanisms
Deconstructing Kubernetes Scheduling
Think of Kubernetes as a super-organized logistics manager. Its job? To ensure every Pod finds the perfect node to live on, based on its requirements, preferences, and constraints.
But Kubernetes isn’t just about making sure the Pod “finds a place.” It uses sophisticated scheduling mechanisms like affinity, anti-affinity, taints, tolerations, and even direct assignments with nodeName.
Let’s dive into how Kubernetes works its scheduling magic. Before we start with that, lets just get a brief idea on how the api server decides which node the application should be deployed into.
How Scheduling Works Under the Hood
When a Pod is created in Kubernetes, it doesn’t immediately get assigned to a node. Instead, it waits in an unscheduled state. The Kubernetes scheduler kicks in and evaluates where the Pod should go. Here’s how the process works:
-
Pod Creation: The user creates a Pod, which is registered in the API server as unscheduled.
-
Filtering Nodes: The scheduler first filters out nodes that can’t handle the Pod due to lack of resources, unsatisfied nodeSelectors, or taints.
-
Scoring Nodes: It then scores the remaining nodes based on factors like affinity/anti-affinity rules, resource requests, and other preferences.
-
Pod Binding: The scheduler picks the node with the highest score and assigns the Pod to it.
-
Pod Execution: The kubelet on the chosen node pulls the container images and runs the Pod.
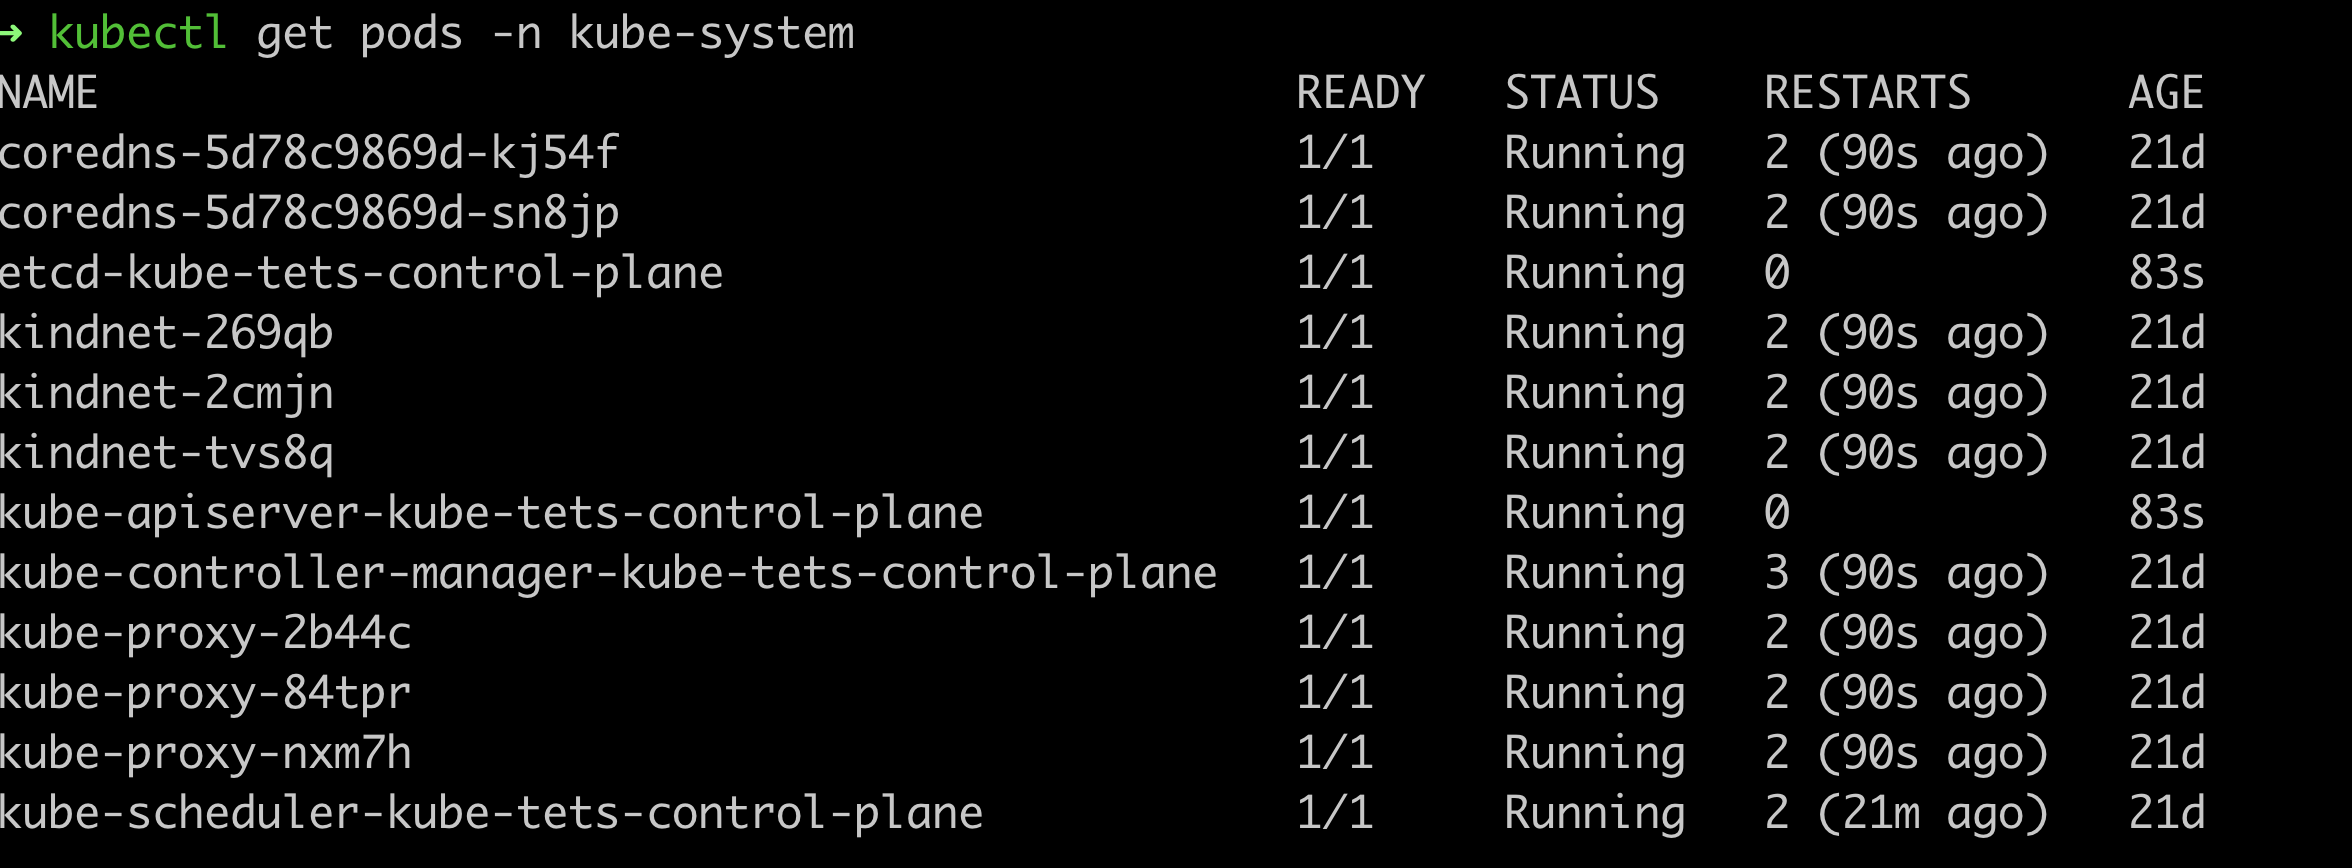
The Kubernetes Scheduler Running Inside the kube-system namespace
The Basics: Labels and Node Selectors
Imagine you’re shipping a package, and each node (warehouse) has labels—tags that describe its attributes, like its location, power supply, or any special features. When a Pod (package) is created, it might have a preference for a certain type of node. This is where labels and nodeSelectors come into play.
For example, suppose you have a Pod that needs to be in the us-east-1 zone. You can use a nodeSelector to tell Kubernetes, “Only put my Pod on nodes labeled with zone=us-east-1.”
Example:
|
|
In this example, only nodes with the label zone=us-east-1 will be considered for this Pod.
Affinity and Anti-Affinity: Pods’ Friendship Preferences
Kubernetes takes matchmaking to the next level with affinity and anti-affinity. Sometimes, a Pod wants to be close to other Pods—like teammates sitting together in the same room for easy collaboration. Other times, they need to keep their distance, like two noisy coworkers that need to be separated to focus.
-
Node Affinity: This allows Pods to request specific types of nodes based on their labels. It’s more powerful than
nodeSelectorbecause you can define hard (required) or soft (preferred) rules. -
Pod Affinity/Anti-Affinity: This is for Pods that want to be near (or far from) other Pods. For example, you might want a web service Pod to be scheduled on the same node as a database Pod for performance reasons, or on different nodes for fault tolerance.
Node Affinity Example:
|
|
Here, the Pod must be scheduled in us-west-1 but would prefer a node with frontend instance type.
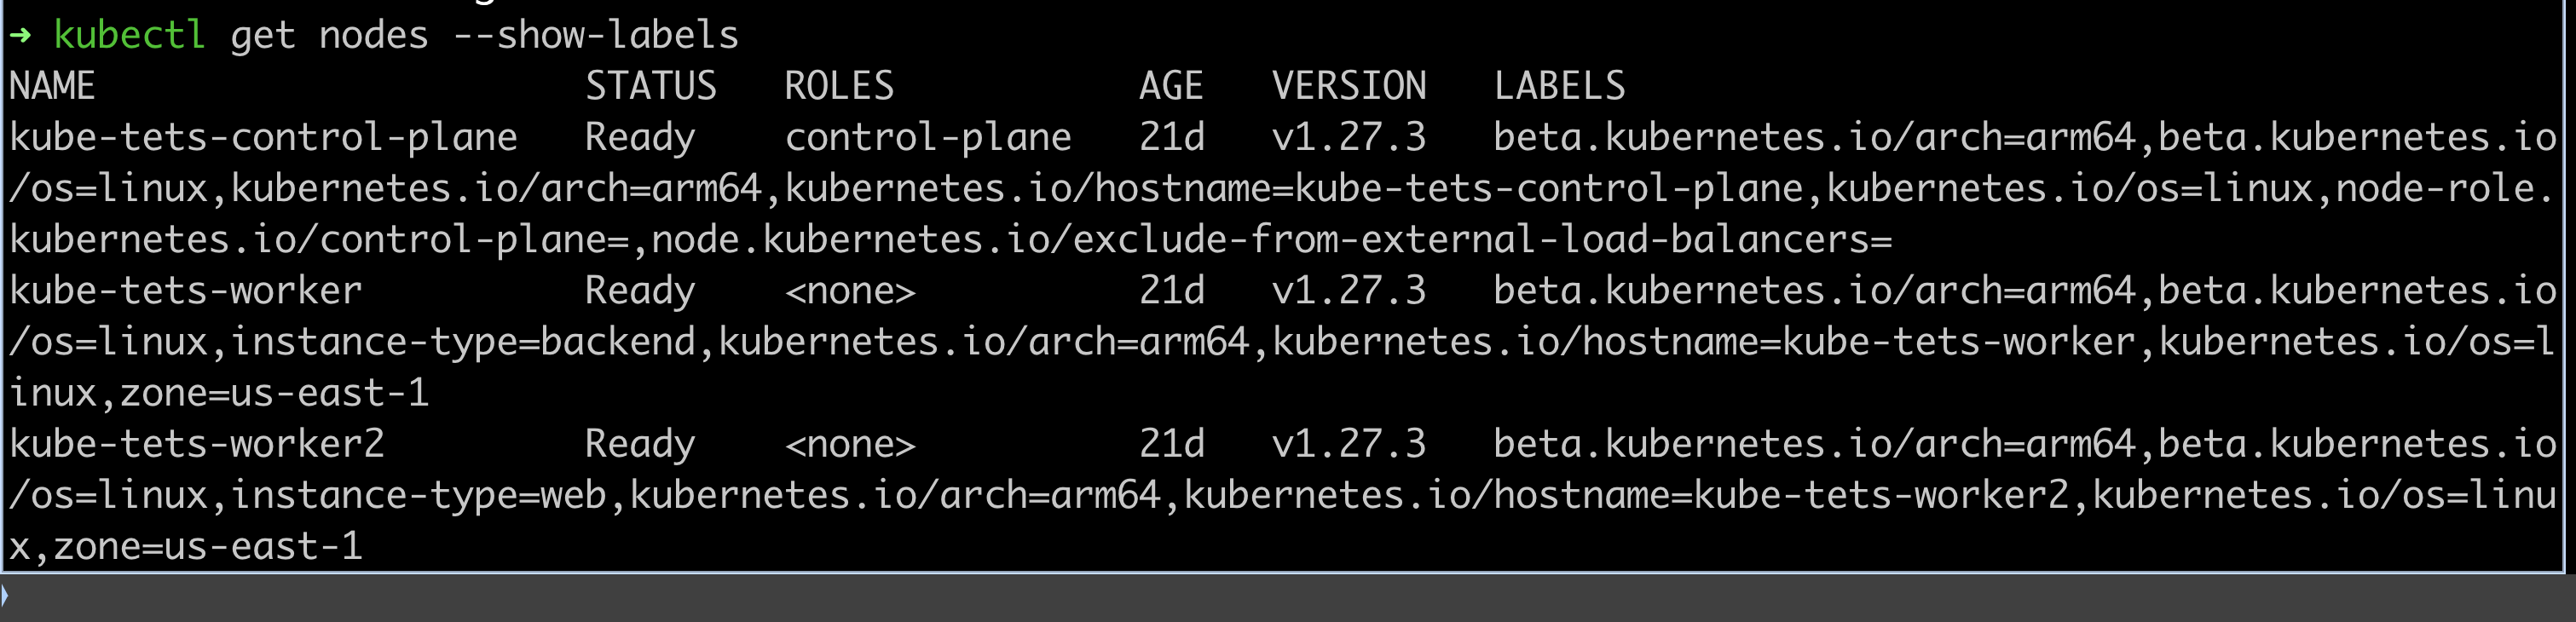
Nodes are labelled with instance-type and zone labels

Changing the zone to 'us-west-1' causes the pod to go into pending state as it does not find any nodes with appropriate labels
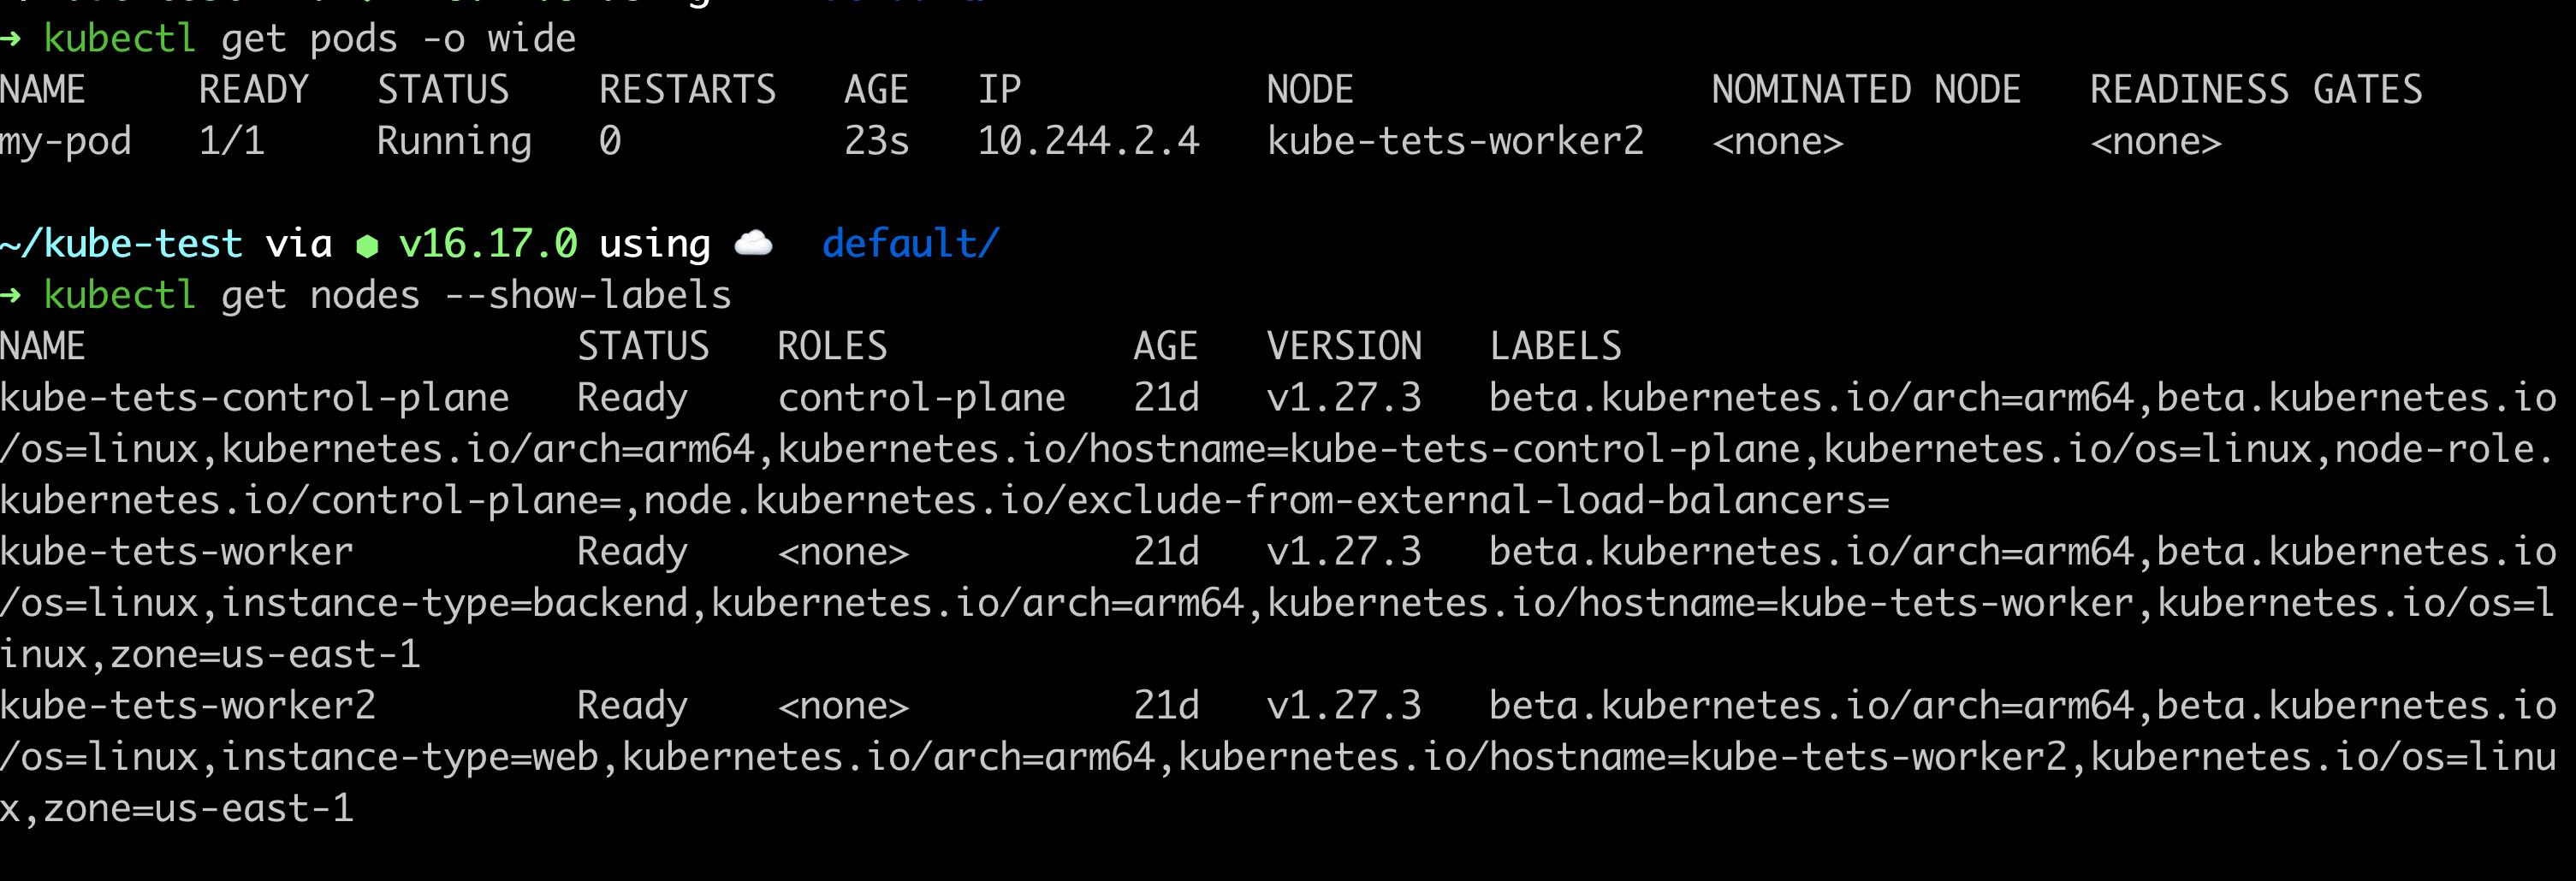
Changing the zone to 'us-east-1' causes the pod to go into running state as it satisfies the required conditions and is schedule onto worker 2 based on preference
Pod Affinity Example:
|
|
In this case, the Pod wants to be scheduled on a node that already has a Pod labeled app=frontend—maybe for better networking performance between the frontend and backend.
Taints and Tolerations: Handle with Care
Some nodes are like the VIP sections of Kubernetes, reserved for specific types of Pods. These nodes have taints—restrictions that prevent Pods from being scheduled on them unless the Pods explicitly say, “I’m okay with this.”
Think of a taint as a “Do Not Disturb” sign on the node. If a Pod has a toleration, it’s like saying, “No problem, I’m good to go.” Taints and tolerations are useful for keeping critical workloads separate from regular workloads, or isolating Pods that require special hardware.
Example:
|
|
This adds a taint to special-node, meaning no Pod will be scheduled here unless it has a toleration.
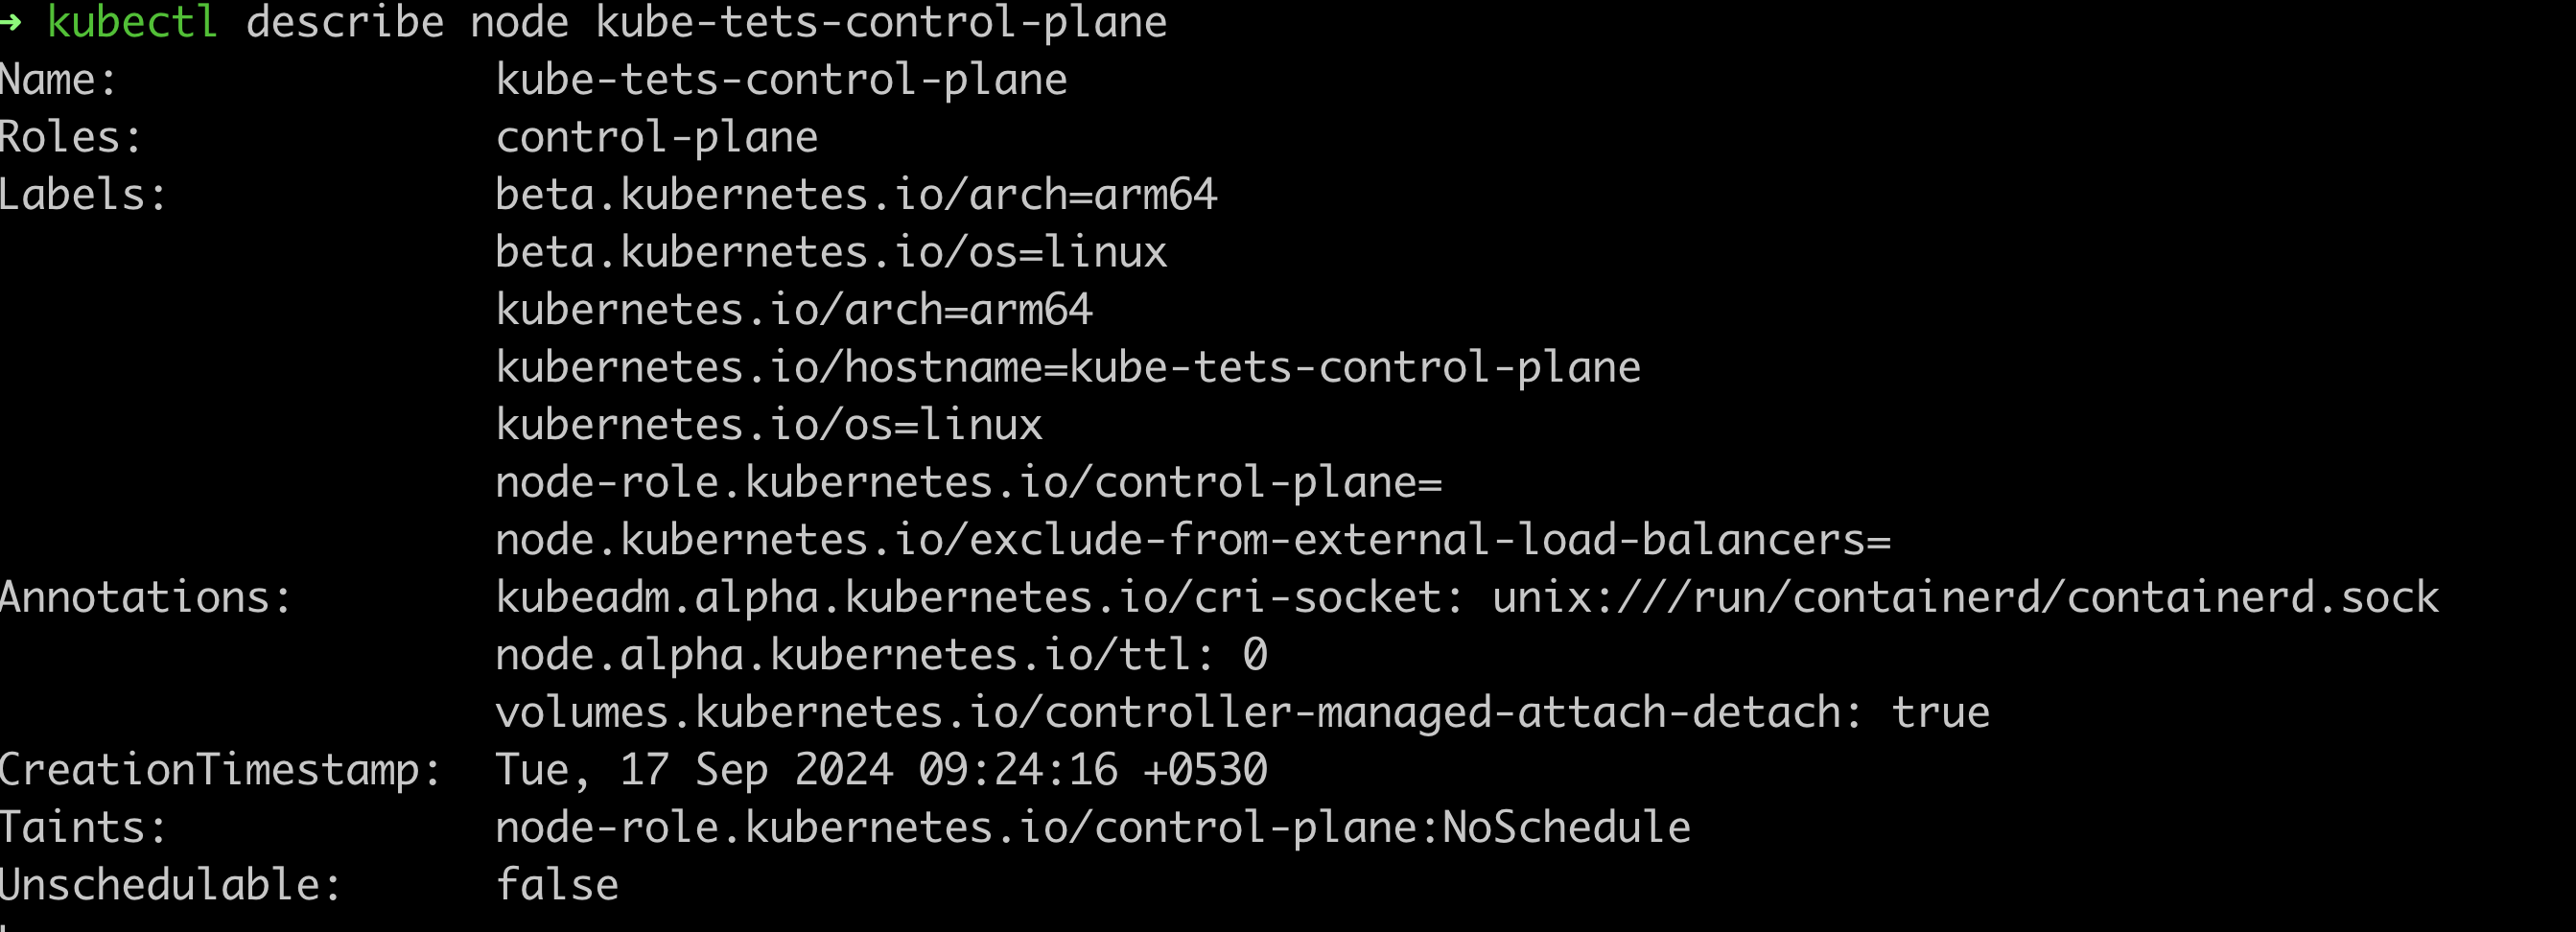
Control plane nodes by deafult come with a control-plane:NoSchedule taint to only allow for control plane components to be allowed into the node
Pod with a Toleration:
|
|
In this example, the Pod can now tolerate the taint on special-node, and it will be scheduled there.
The nodeName Parameter: Direct Pod Assignment
Sometimes you just want to tell Kubernetes, “Hey, put this Pod on this specific node, no questions asked.” That’s where nodeName comes in. This is the nuclear option for Pod scheduling—no filtering, no scoring, just direct assignment.
When you use nodeName, Kubernetes skips the usual matchmaking process and binds the Pod directly to the specified node.
Example:
|
|
This Pod will run only on my-specific-node, regardless of any affinity rules or resource constraints. Use it sparingly!
Resource Requests and Limits: Knowing Your Limits
Pods can be picky about their node requirements when it comes to CPU and memory. When creating a Pod, you can specify resource requests (the minimum amount of CPU and memory needed) and limits (the maximum they’re allowed to use).
The scheduler takes these into account when deciding where to place the Pod. If a node doesn’t have enough available resources, it won’t be considered.
Example:
|
|
Here, the Pod needs at least 128Mi of memory and 500m of CPU to start, but can scale up to 256Mi and 1000m if needed.
Topology Spread Constraints: Distributing Pods
Kubernetes also allows you to distribute Pods evenly across different nodes or failure zones to improve fault tolerance. With topology spread constraints, you can ensure that Pods are evenly spread across different zones, nodes, or racks, reducing the risk of all Pods going down if a zone or rack fails.
Example:
|
|
Here’s a breakdown of the terms in above example:
-
topologySpreadConstraints: This field is part of the spec of a pod and allows you to define constraints on how the pods should be spread across different topology domains (e.g., zones or nodes).
-
maxSkew: 1: This defines the maximum allowed difference between the number of pods in the topology domains (like zones). A maxSkew of 1 means that the difference between the zone with the most pods and the zone with the fewest pods can be at most 1.
-
topologyKey: “zone”: This specifies the key on which the spread should happen. In this case, the pods should be evenly spread across zones. The zone refers to a topology domain, such as a failure zone or an availability zone in the cloud.
-
whenUnsatisfiable: DoNotSchedule: This defines the behavior when the constraint cannot be satisfied. If it’s set to DoNotSchedule, Kubernetes will not schedule a new pod if doing so would violate the spreading constraint. It ensures the distribution is respected, even if it means not scheduling a pod.
-
labelSelector: The labelSelector defines which pods the spread constraints apply to. In this example, the spread constraint is only applied to pods with the label app: web. Only these pods need to follow the defined spread constraint.
Example Use Case: If you have three zones and want to distribute your web pods across these zones as evenly as possible, using this configuration ensures that no zone has more than one extra pod compared to the others.
This ensures that your web Pods are evenly spread across different zones, reducing the chance of failure impacting all instances at once.
Custom Schedulers: Building Your Own Matchmaker
If the default Kubernetes scheduler isn’t cutting it for your specialized use case, you can create your own custom scheduler. This allows you to define your own logic for scheduling Pods based on specific needs, like custom resource allocation, hardware preferences, or workload isolation.
To use a custom scheduler, you simply specify the name of the scheduler in your Pod spec:
|
|
This Pod will be scheduled by my-custom-scheduler rather than the default one.
If you use nodeName, Kubernetes skips the filtering and scoring phases, directly binding the Pod to the node you specify.
Conclusion
Kubernetes ensures that your Pods get the best possible home, while balancing performance, availability, and resource efficiency.
So, next time you’re deploying applications on Kubernetes, think of the scheduler as your logistics manager, efficiently and intelligently assigning Pods to the right nodes to keep everything running smoothly!